Minecraft utility builds that actually work: 8 farms and machines
Eight Minecraft utility builds that really work in Java Edition 1.21: a mob XP tower, an iron farm, a Nether hub, a sorter, a smelter and more, step by step.
Ideas9 min read
A farm that looks right but does nothing is the most frustrating build in Minecraft. You spend an evening on a mob tower, an iron farm or a sorting system, switch it on, and wait. Nothing comes out, or the wrong thing does, and it is hard to tell which block is to blame.
Here are the eight utility builds in the X-Builds catalogue: a lift, a Nether hub, three farms, a trading hall, a smelter and an item sorter. Each is an original design for Java Edition 1.21, checked against the game's rules for that version, with a full guide: the exact blocks counted from the build and a picture for every step. Below each one is what it does, how it works in plain words, what you need to bring that a guide cannot place for you, and the one or two things that have to happen in the right order.
All eight are free, on the website and in the app, to the last step. They are Java Edition designs: Bedrock Edition handles villagers, hoppers and redstone differently in places, so do not expect them to work there unchanged.
Why so many farm designs fail
Most broken farms break one of a handful of game rules. These are the ones the builds below were checked against:
Lava and fall kills give no XP. A mob only drops experience when a player (or a tamed wolf) has hurt it shortly before it dies. A farm that finishes mobs off on its own fills your chests with drops and gives you no levels.
Observers break unripe crops. An observer fires every time a crop grows a stage, not only when it is ripe, so an observer-triggered harvester mostly breaks young crops.
Crops do not replant themselves. Whatever harvests a field, a player or a farmer villager has to sow it again.
This kind of iron farm needs a zombie. Villagers summon iron golems when they panic, and a zombie in plain sight is what makes them panic. They also need to have slept recently, so they need beds too.
Portals close together share one Nether portal. Nether coordinates are the Overworld's divided by 8, so eight portals in one Overworld room all lead to the same spot in the Nether, and the game links them to the same portal.
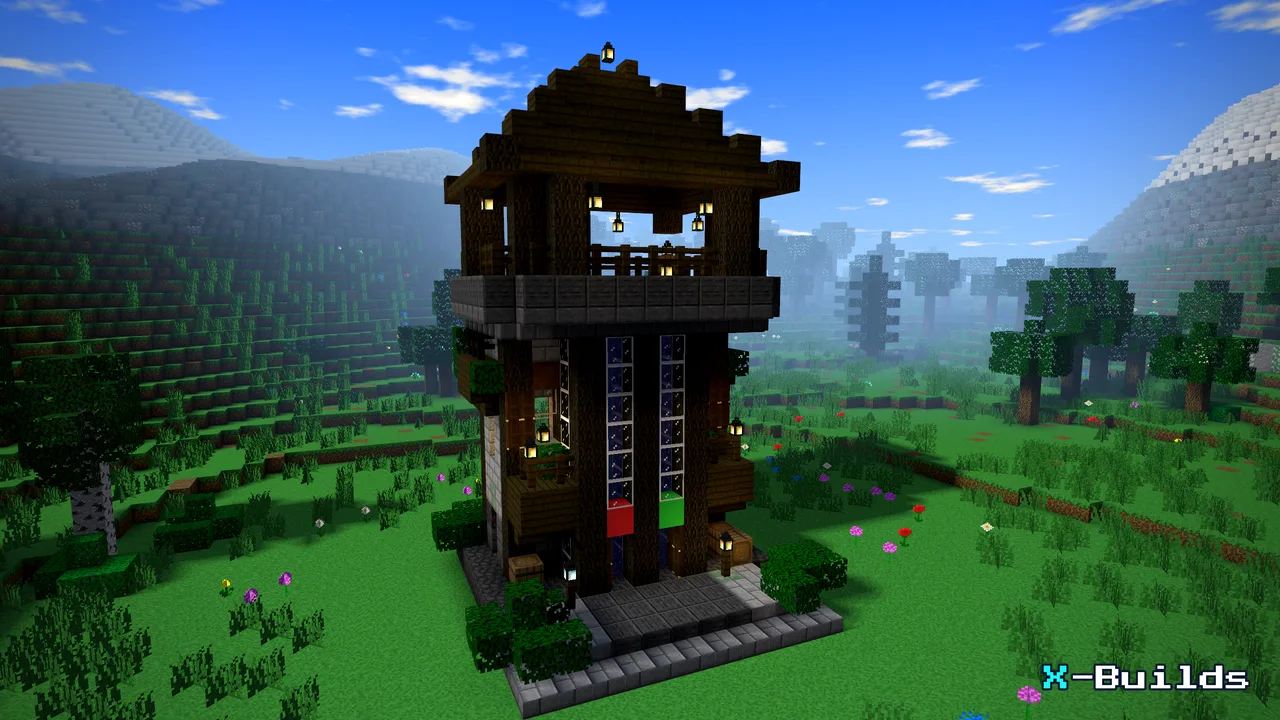
A bubble-column lift in a small stone, deepslate and dark oak tower, from a ground-floor landing up to a roofed lookout 11 blocks higher. Two one-block water columns stand side by side behind glass. The one over soul sand pushes you up and the one over a magma block pulls you down; a lime block and a lantern mark the way up, a red block and a soul lantern the way down. You walk in through open trapdoors at the bottom, which hold the water back because water cannot flow into a trapdoor, and at the top you pop out onto the floor. The bubbles keep giving you air, so nobody drowns. Bring: water buckets.
Every water block has to be a source, or the bubble column stops. As each layer goes up, place the glass first, then empty a bucket against the inside of the glass, never on a trapdoor. At the bottom of the way down, hold sneak: magma hurts even underwater.
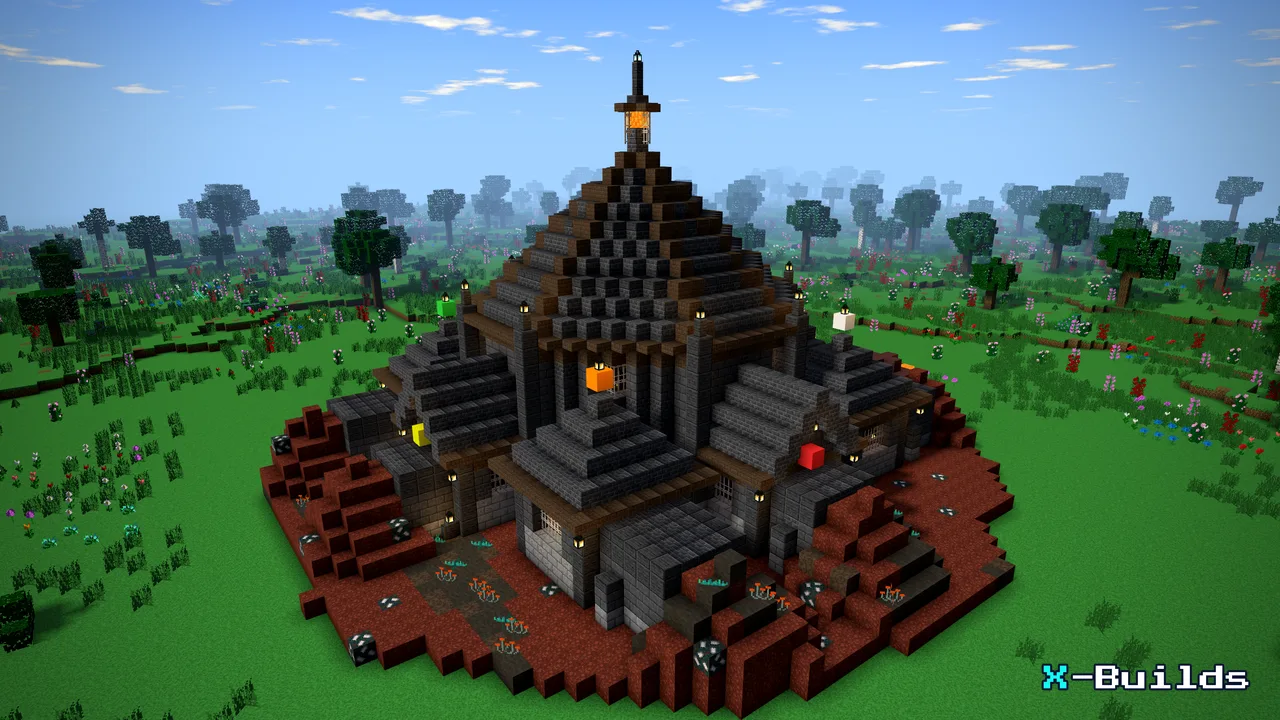
An octagonal hall of stone bricks, deepslate bricks and red nether bricks under a stepped roof, built in the Nether. Its central obsidian portal on a dais is the Nether end of your base's portal, and eight lantern-lit gateways round the hall, each with a sign and a coloured block for you to label, open onto tunnels with a blue ice boat lane and a slab walkway. Every floor and roof is made of slabs, because light does not stop Nether spawns, and every outside block stands up to ghast fireballs. Bring: flint and steel, plus obsidian for each new portal at the ends of the tunnels.
Build the hub at your base portal's X and Z divided by 8, at the same height, and break any portal the game already made there, so the two link both ways. Then dig each tunnel on to a destination's Overworld X and Z divided by 8 and build a portal there, keeping destinations more than 128 blocks apart. Wear gold armour near piglins.
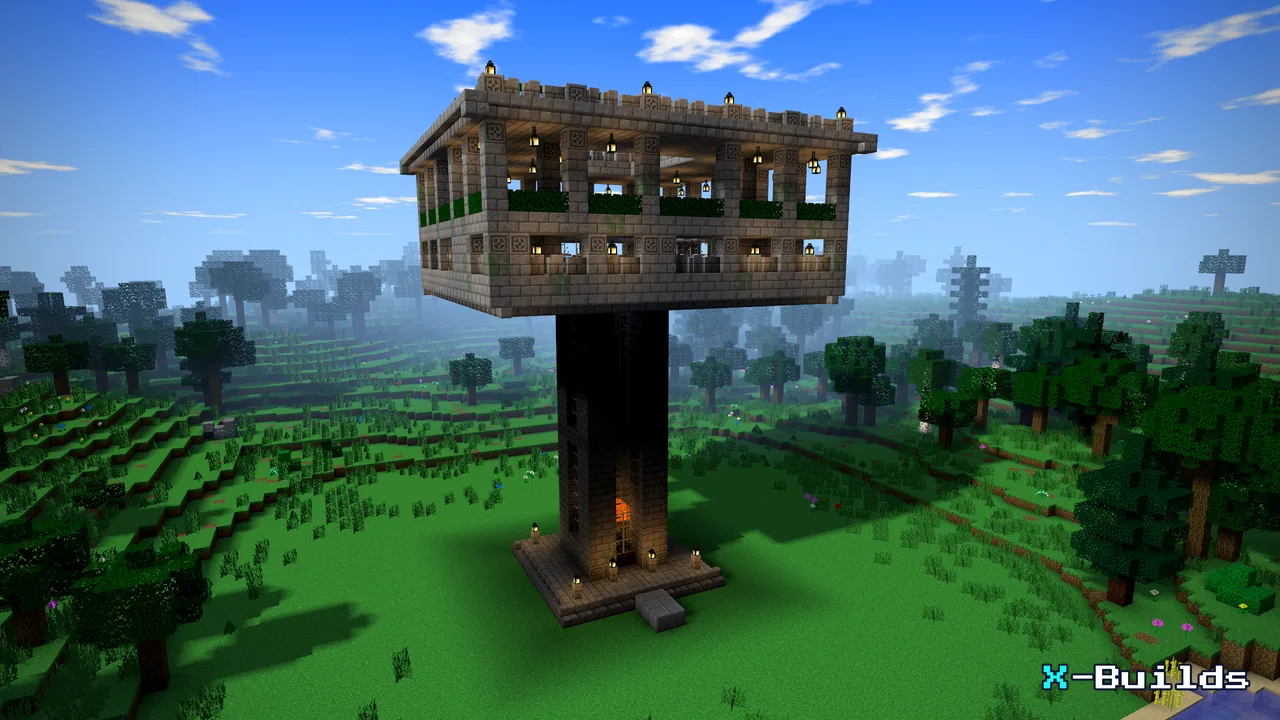
A four-floor mob tower with no spawner. Zombies, skeletons, creepers and witches spawn on four dark, roofed stone-brick floors. Two-block ceilings keep endermen out, and grey carpets keep spiders from spawning. Water from niches in the walls runs down channels and trenches to a hole in the middle of each floor, every floor drops into one landing pool, and its current pushes the mobs over a sign into a 21.5-block shaft. That fall leaves them on half a heart to one heart, so from the AFK spot in the room at the foot you finish each one with a single sword hit through the gap over the slabs (witches take a few) and keep the XP, while six hoppers fill two double chests with the drops. Bring: water buckets and a sword.
Pour the water last: a bucket into each of the 74 wall niches once its walls stand. Build the tower high up or over the ocean and light up the caves nearby, so the mobs spawn in the tower and not underground.
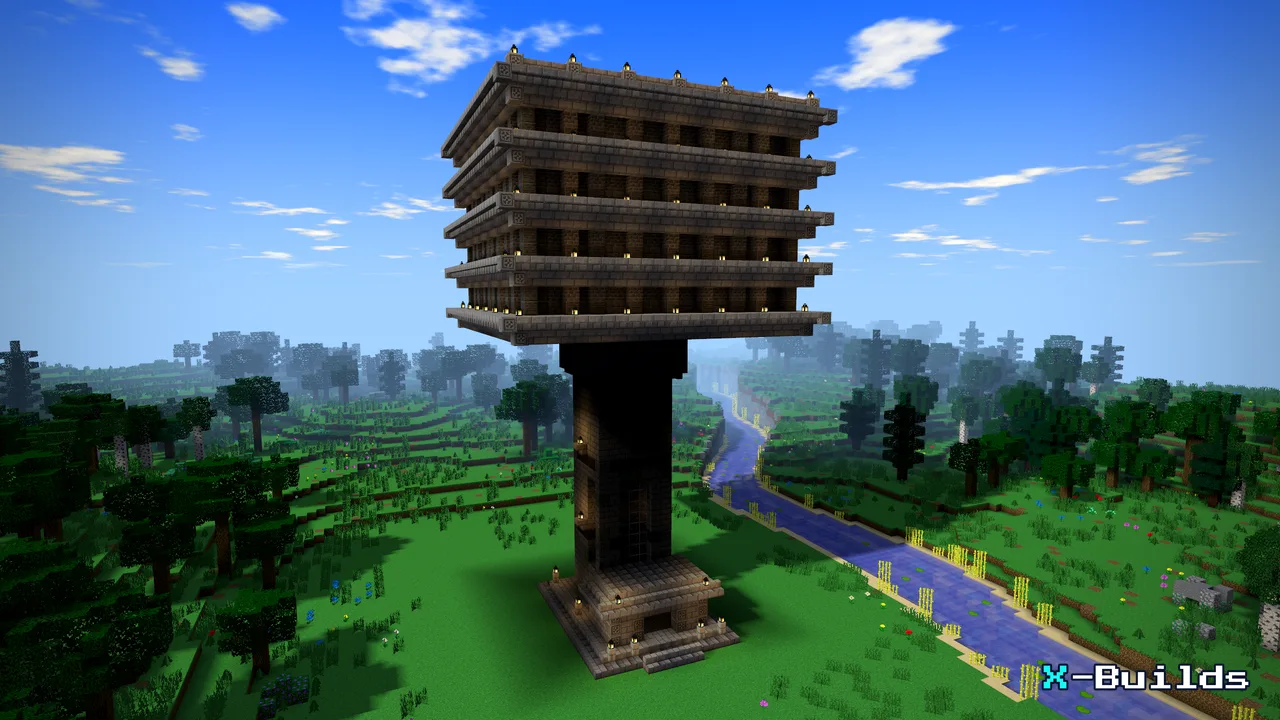
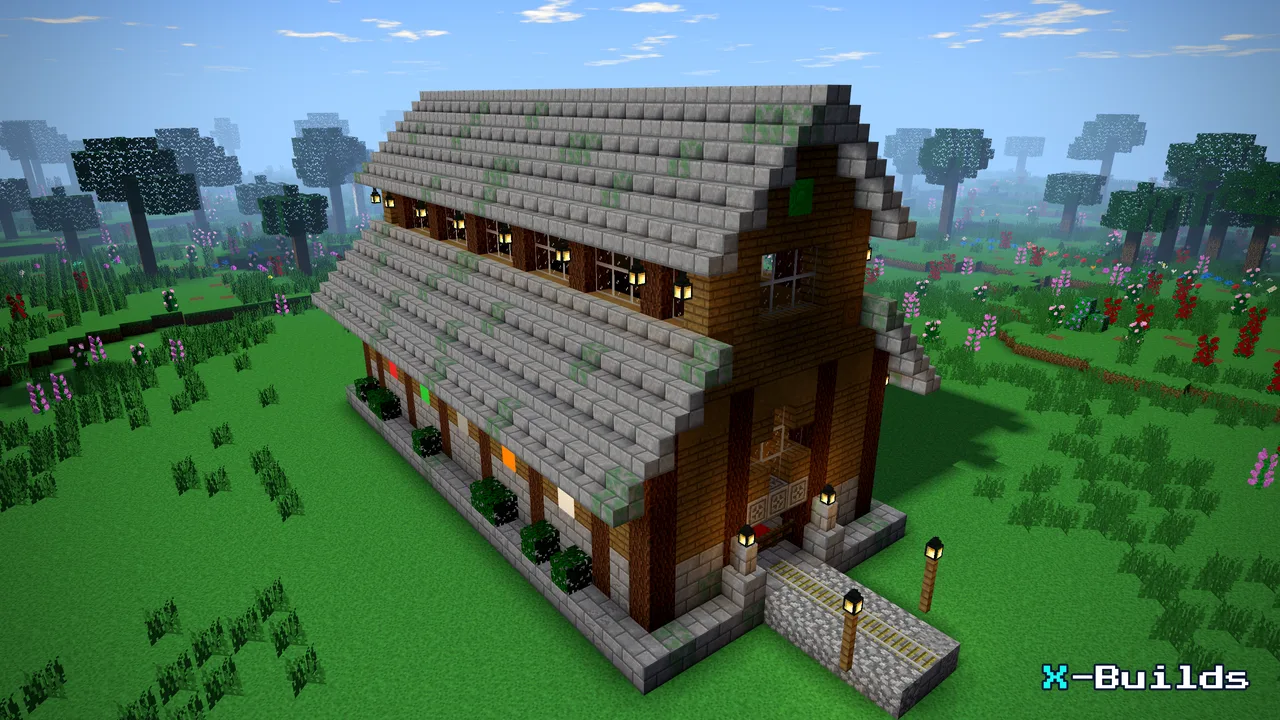
An iron farm on a stone-brick platform 21 blocks up a pillar. Two sealed rooms each hold three villagers with beds and job blocks. At the job-block end of each room, a zombie seen through a one-block slot keeps them panicking, so they summon iron golems onto the water floor. The beds at the far end are out of the zombie's range, so the villagers still sleep there, which summoning needs. The current carries each golem to a hole kept dry by signs, it drops down a glass shaft into a lava blade, and hoppers fill the chest in the pillar's alcove. Bring: six villagers and two adult zombies, with a name tag for each zombie so it never despawns.
Pour the lava once the shaft walls reach it, and the water last, along the rim only. Bring the villagers and zombies in by minecart, leaving a wall block out until they are inside, and build far from any village.
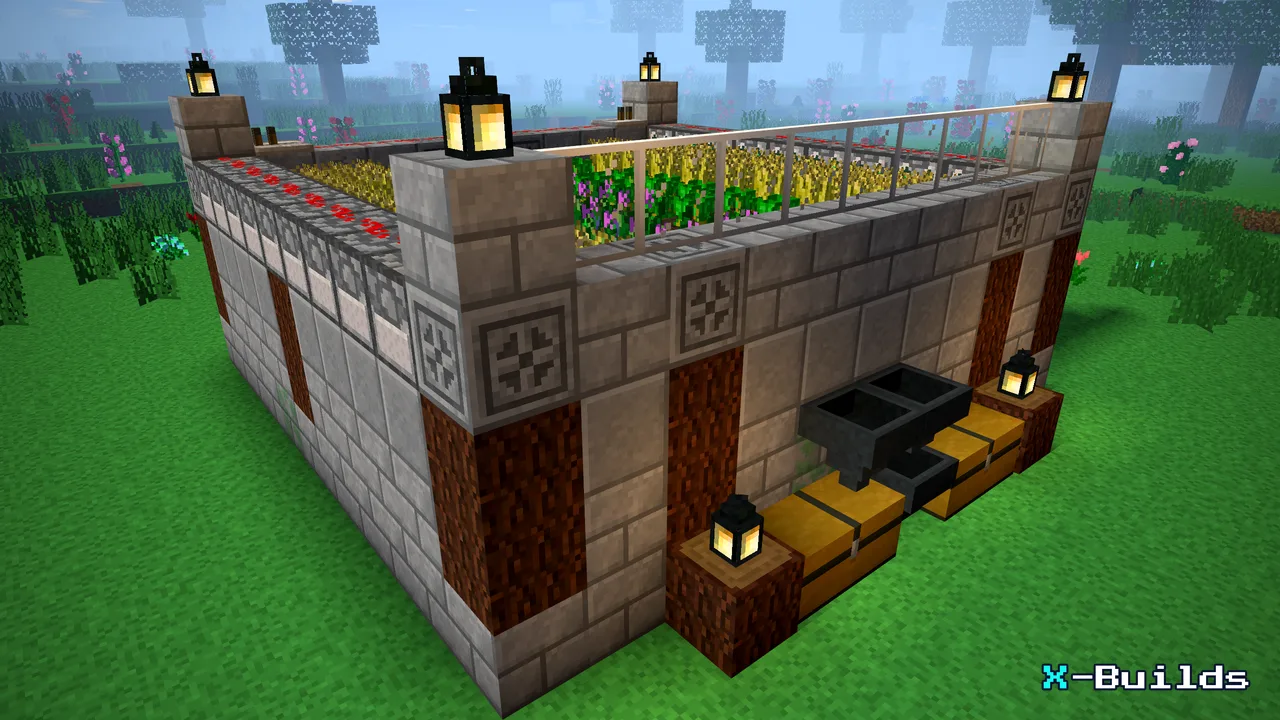
A raised 9 × 9 field in a frame of stone bricks and spruce logs, with wheat, carrots and potatoes either side of a water channel that keeps every farmland block watered. Eighteen dispensers line the sides. Press the stone button on the back and every row floods towards the channel, breaking the crops and carrying the drops over it. Wait a few seconds and press again: the dispensers take their water back, the drops sink into the channel, and the hoppers under it fill the two chests in front. You pick the moment, so you can wait until the whole field is ripe. Bring: 18 water buckets, one in each dispenser, and seeds, carrots and potatoes to plant.
Pour the channel only once the whole farmland layer is laid. Get in from the back stair by dropping into the channel, and never jump on the farmland: it turns back to dirt. Replant by hand after every harvest, or keep a farmer villager on the field.
A stone-brick and spruce trading hall for ten villagers, with a red carpet aisle, a clerestory roof, lanterns and five booths a side. Each booth locks one villager in a one-block cell on a rail, with the wall behind it and its workstation in front, and you trade through the window over the workstation. A coloured block marks each job. No beds are needed, because villagers restock at their workstations; fence gates keep zombies out, lanterns stop mobs spawning, and the roof keeps lightning off. Bring: ten grown villagers (no nitwits) and a minecart.
Leave all ten workstations out while you build. Then, one at a time, bring a villager in a minecart: open the middle gate, push the cart down the aisle and into its booth until it stops on the rail, leave the villager seated and place that booth's workstation. To reroll its trades, break and replace the workstation before you trade with it for the first time.
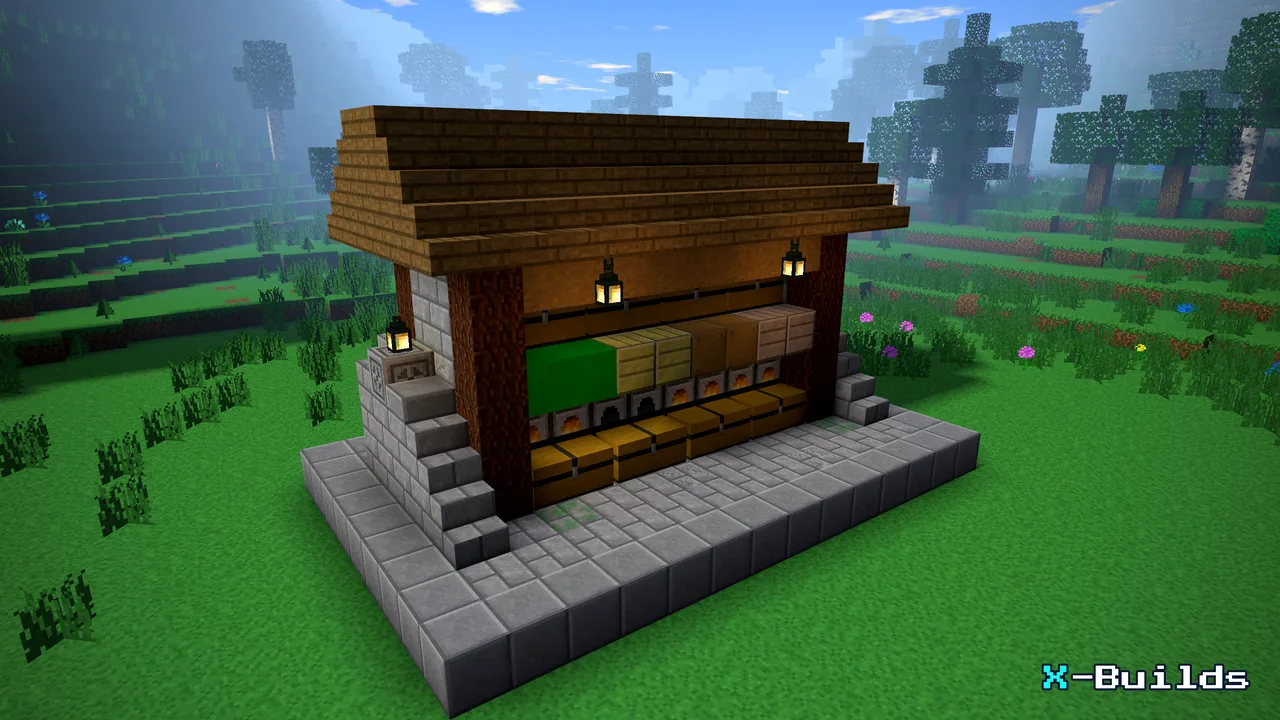
Eight furnaces in a row in a free-standing stone brick and spruce workshop, with no redstone at all. Each of the four double chests on top feeds two furnaces through the hoppers under it. The double chests at the back take fuel (coal, charcoal, coal blocks, blaze rods or lava buckets), and a hopper under each pushes it into its furnace from behind. A hopper under every furnace moves the results, and any empty buckets, into the chests in front. Spread a big load over the four input chests: a stack in each is done in under six minutes. Bring: something to smelt and fuel to burn.
Place the output chests and furnaces before their hoppers, holding sneak as you place each hopper against the block it feeds, and lay each chest row from one end so the chests pair up. Furnaces only burn fuel while they have something to smelt, and each keeps its XP until you take a result out by hand, so collect from the furnaces now and then.
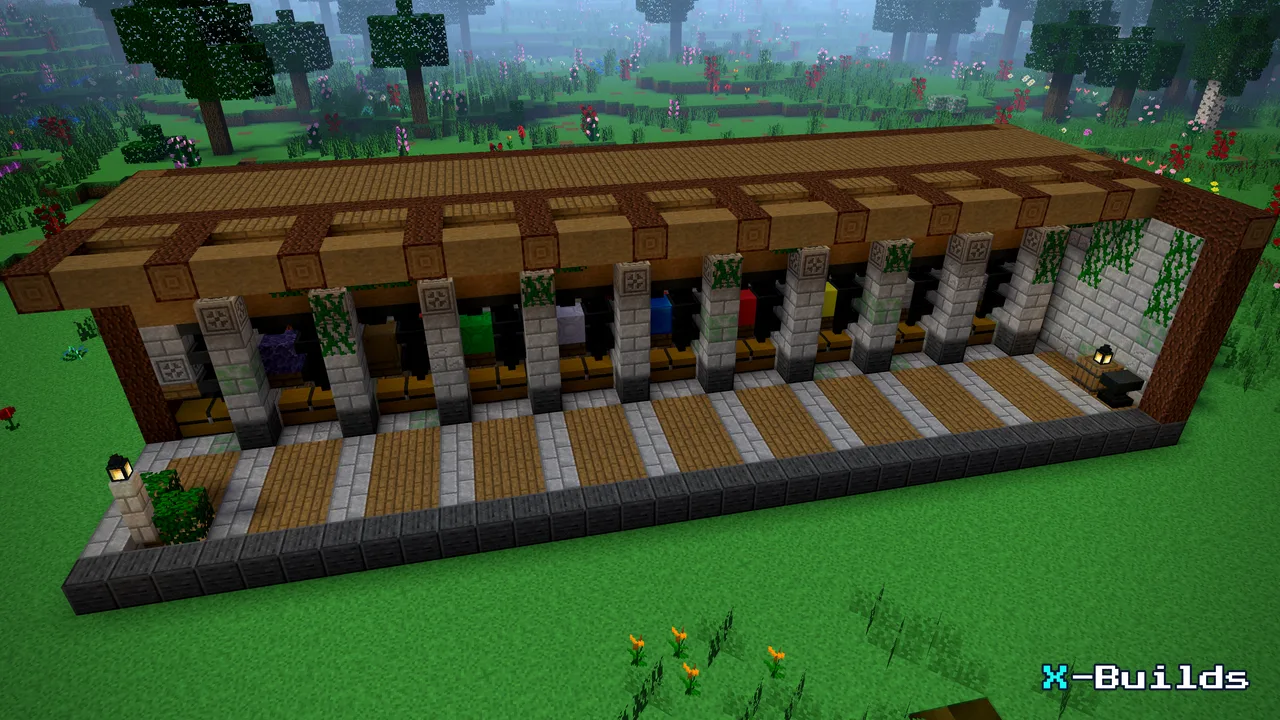
Nine classic hopper and comparator sorter modules along a stone-brick wall, each over its own double chest, under spruce beams with lanterns, vines and leaves. Drop items into the input chest high on the far wall. A line of hoppers carries them along the top, each module's filter hopper picks out its own item and lets it down into its chest, and anything no module takes runs on to the unsorted chest at the open end. A full chest sends its item on to the unsorted chest too, so the line never jams. The redstone sits behind the wall, where you can see it through the back windows. Bring: the items you want sorted and a few to rename at the anvil.
Fill each filter hopper last: 41 of its item in the first slot and one renamed item in each of the other slots, or 10 instead of 41 for items that stack to 16. Renamed items never stack with the real ones, so they just hold the slots. Items that do not stack at all cannot be sorted. Hang an item frame on each coloured block to label it.
Under the stone and spruce, these are the blocks that do the sorting: a hopper line, a filter hopper and an output hopper per module, a comparator reading each filter, and a repeater, a redstone torch and a little dust to hold each output hopper shut until its filter has one item too many. Gather the hoppers early: each one takes five iron ingots and a chest.
Before you build a working farm
Save the working parts for last. Water, lava, filter items and the trading hall's workstations go in once everything around them stands, as each build's notes above say.
Leave a way in. Keep one wall block out of each iron farm room, and each booth's workstation out of the trading hall, until its villagers are in place.
Bring the live parts yourself. Villagers, zombies, items and water are not blocks you can copy from a picture, so each build above lists what to bring.
Mind the version. Farms depend on exact game rules, and these are for Java Edition 1.21.
Gather by step. Every X-Builds step lists just the blocks it needs, and your progress is saved after every step, so a big farm can be built an evening at a time.
Every build comes with its exact block list and a picture for every step. Free builds open in the free app on your phone, and in your browser on a computer, no account needed.
Pictures and icons: X-Builds; textures REFI by MysticTempest, CC BY-SA 4.0 (credits). Builds are original X-Builds designs; sizes, counts and times come from each build’s guide.